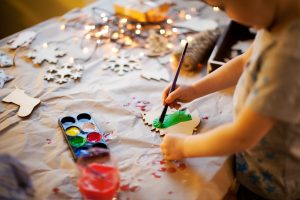
Tips for Holiday Crafting, Making Memories as a Family
Are you ready for some Christmas crafting with your kids? Crafting at home is all about making memories, and some of our favorite childhood memories come from arts and craft sessions with our moms, sisters, and grandmothers. There’s something about this season that just makes you want to do projects and crafts. Who doesn’t love to put on a good holiday movie and craft while you watch?
Here are three holiday craft ideas for wonderful handmade decorations kids can help make:
Paper snowflakes
 Paper snowflakes are a classic paper craft. A single sheet of paper can become a blizzard of snowflakes that you can use to hang from the ceiling, decorate a table, or top anything from gifts to cupcakes.
Start out with a square piece of paper, preferably thin or lightweight paper. Fold the square diagonally in half to come up with a triangle. Fold the resulting triangle in half to make a smaller triangle. The most important step in making a paper snowflake is dividing the triangle into three equal sections. Once you’ve marked out the three equal sections, fold the left section towards the front. Similarly, fold the right section towards the front. Flip the shape over so that the side with the horizontal edge is facing front. Cut along the horizontal edge so that you end up with a wedge. While keeping the wedge folded, cut out random shapes out of the edges. Carefully unfold the paper to reveal your unique paper snowflake.
Candy cane crafts
Even if you love eating candy canes, there always seems to be some left over after Christmas. Try using a few of those candy canes now to make fun candy cane crafts you can use as decorations and gifts. The options are limited only by your (and your kids’) imaginations. Candy canes can become picture frames, place card holders, adorable reindeer ornaments, or even melted in the oven to create a tray for festive holiday cookies.
Classic salt dough ornaments


