
Celebrate the End of Summer with Rock Painting
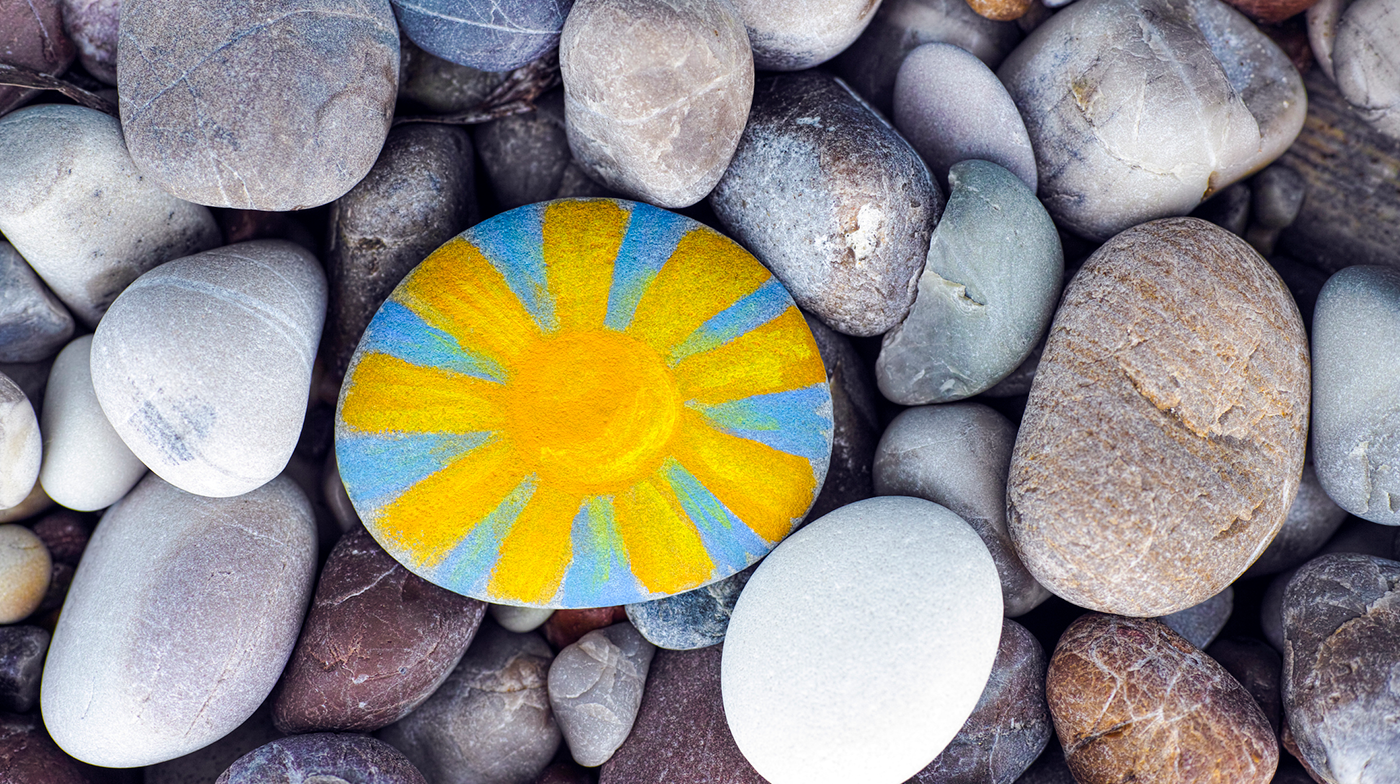
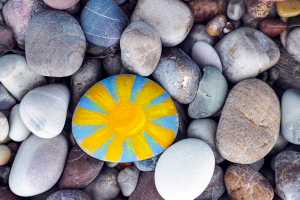 The simple act of applying paint to rock to create art is something as old as time. Painting on canvas can be a little imitating and overwhelming when painting art on large areas. The best part of painting rocks is that it gives the artist a smaller safe space to create without feeling lost in such a large space.
Learning how to paint rocks is simple and everyone can do it. Is it an expensive hobby? Well, no you don’t need a lot of materials to get started, a paintbrush and craft paint is all you need to get started. You don’t have to be a talented artist to paint, you just need the desire to pick up a brush and start. Learning the fundamentals of painting techniques will take practice and over time you will develop your own style.
Places to Find Rocks
Rocks are free if you know where to look. Part of the fun of rock painting is using the hunt and gather method to find rocks to create beautiful rock art. The ideal rock for painting is smooth flat rock. On the other hand, choosing rocks that have irregular shapes can spark inspiration for beautiful art.
Please be aware that there are areas that are illegal to remove rocks from such as, National and State Parks, waterways, and railway tracks. Leaving painted rocks and removing rocks for painting from National Parks, State Parks are prohibited.
Consider finding on public beaches, public places and even buying stones from local garden centers or rock yards. Consider looking for rock on the public beaches and even buying stones from local garden centers or rock yards.
Prep Stage
Once you gather enough rocks, you will have to wash with soapy water to remove any dirt and/or debris remaining and let the rocks dry in the sun before painting.
Base coating your rocks is optional but it’s recommended that you include this in your prep time. You can paint your rock a solid color or try blending 2-3 colors together to create an ombre effect. While you’re waiting for “paint to dry”, it’s the perfect time to plan your design and gather your rock painting supplies.
Painting Process
Now comes the fun part, painting your rocks with your creative ideas that you planned in the prep stage. There are many options available to choose from to create your rock art by using acrylic paints, marker pens, alcohol inks, dotting tools, and so much more!
Whether it’s a free-hand design or a traced image, it’s your rock and you decide how to design it…even the experienced artist often uses tracing methods. Once your fun design is done, go back over and outline your design with a darker color to highlight the image. I like to use paint pens for the outline process.
If you are hiding your painted stones, you can choose to use a hashtag inspirational message or your local rock group’s name on the back of your rocks.
Final Step
Protecting your rock is an important step. After your painted rocks are dry, use an aerosol spray sealer or one of your favorite sealants. For best results, seal your painted rocks outside, even in a well-ventilated area. Sealing the painted rocks will provide a moisture barrier to protect your painted rocks from being faded or damaged over time.
Hiding Painted Rocks
Of course, you can always keep your art collection at home or in your garden, but sharing painted rocks with the community is an exciting way to participate in public art. Hiding painted stones at hospitals and businesses are typically not allowed unless given permission to do so. Many artists like to hide their painted stones in a public area, local parks, and around neighborhoods for the local kids (and kids at heart!) to find. It’s a fun activity to hide rocks in plain sight that blend in with the elements.


