
A DIY Felt Christmas Tree for the Toddlers in Your Life
 It’s that time of year again! There’s a TON of things to do. Hang up your stockings…wrap all those presents…gulp gallons of hot chocolate…decorate your Christmas tree…and then keep your baby from destroying your Christmas tree.
Yes, we all love to make the home warm and cozy and colorful at Christmas time. The atmosphere seems magical with twinkling lights everywhere. But we also want to keep our sanity and keep our babies from pulling all the ornaments off the tree and breaking them – because that’s no fun for anyone.
Why not create a special little tree just for them, that they can decorate themselves and then tear apart over and over again throughout the holiday season – a felt Christmas Tree!?
With only a few materials and an hour or two of time, you’ll have the tree set up and ready for play. And believe us, you’ll be thankful that you made the effort!
Here is what is needed:
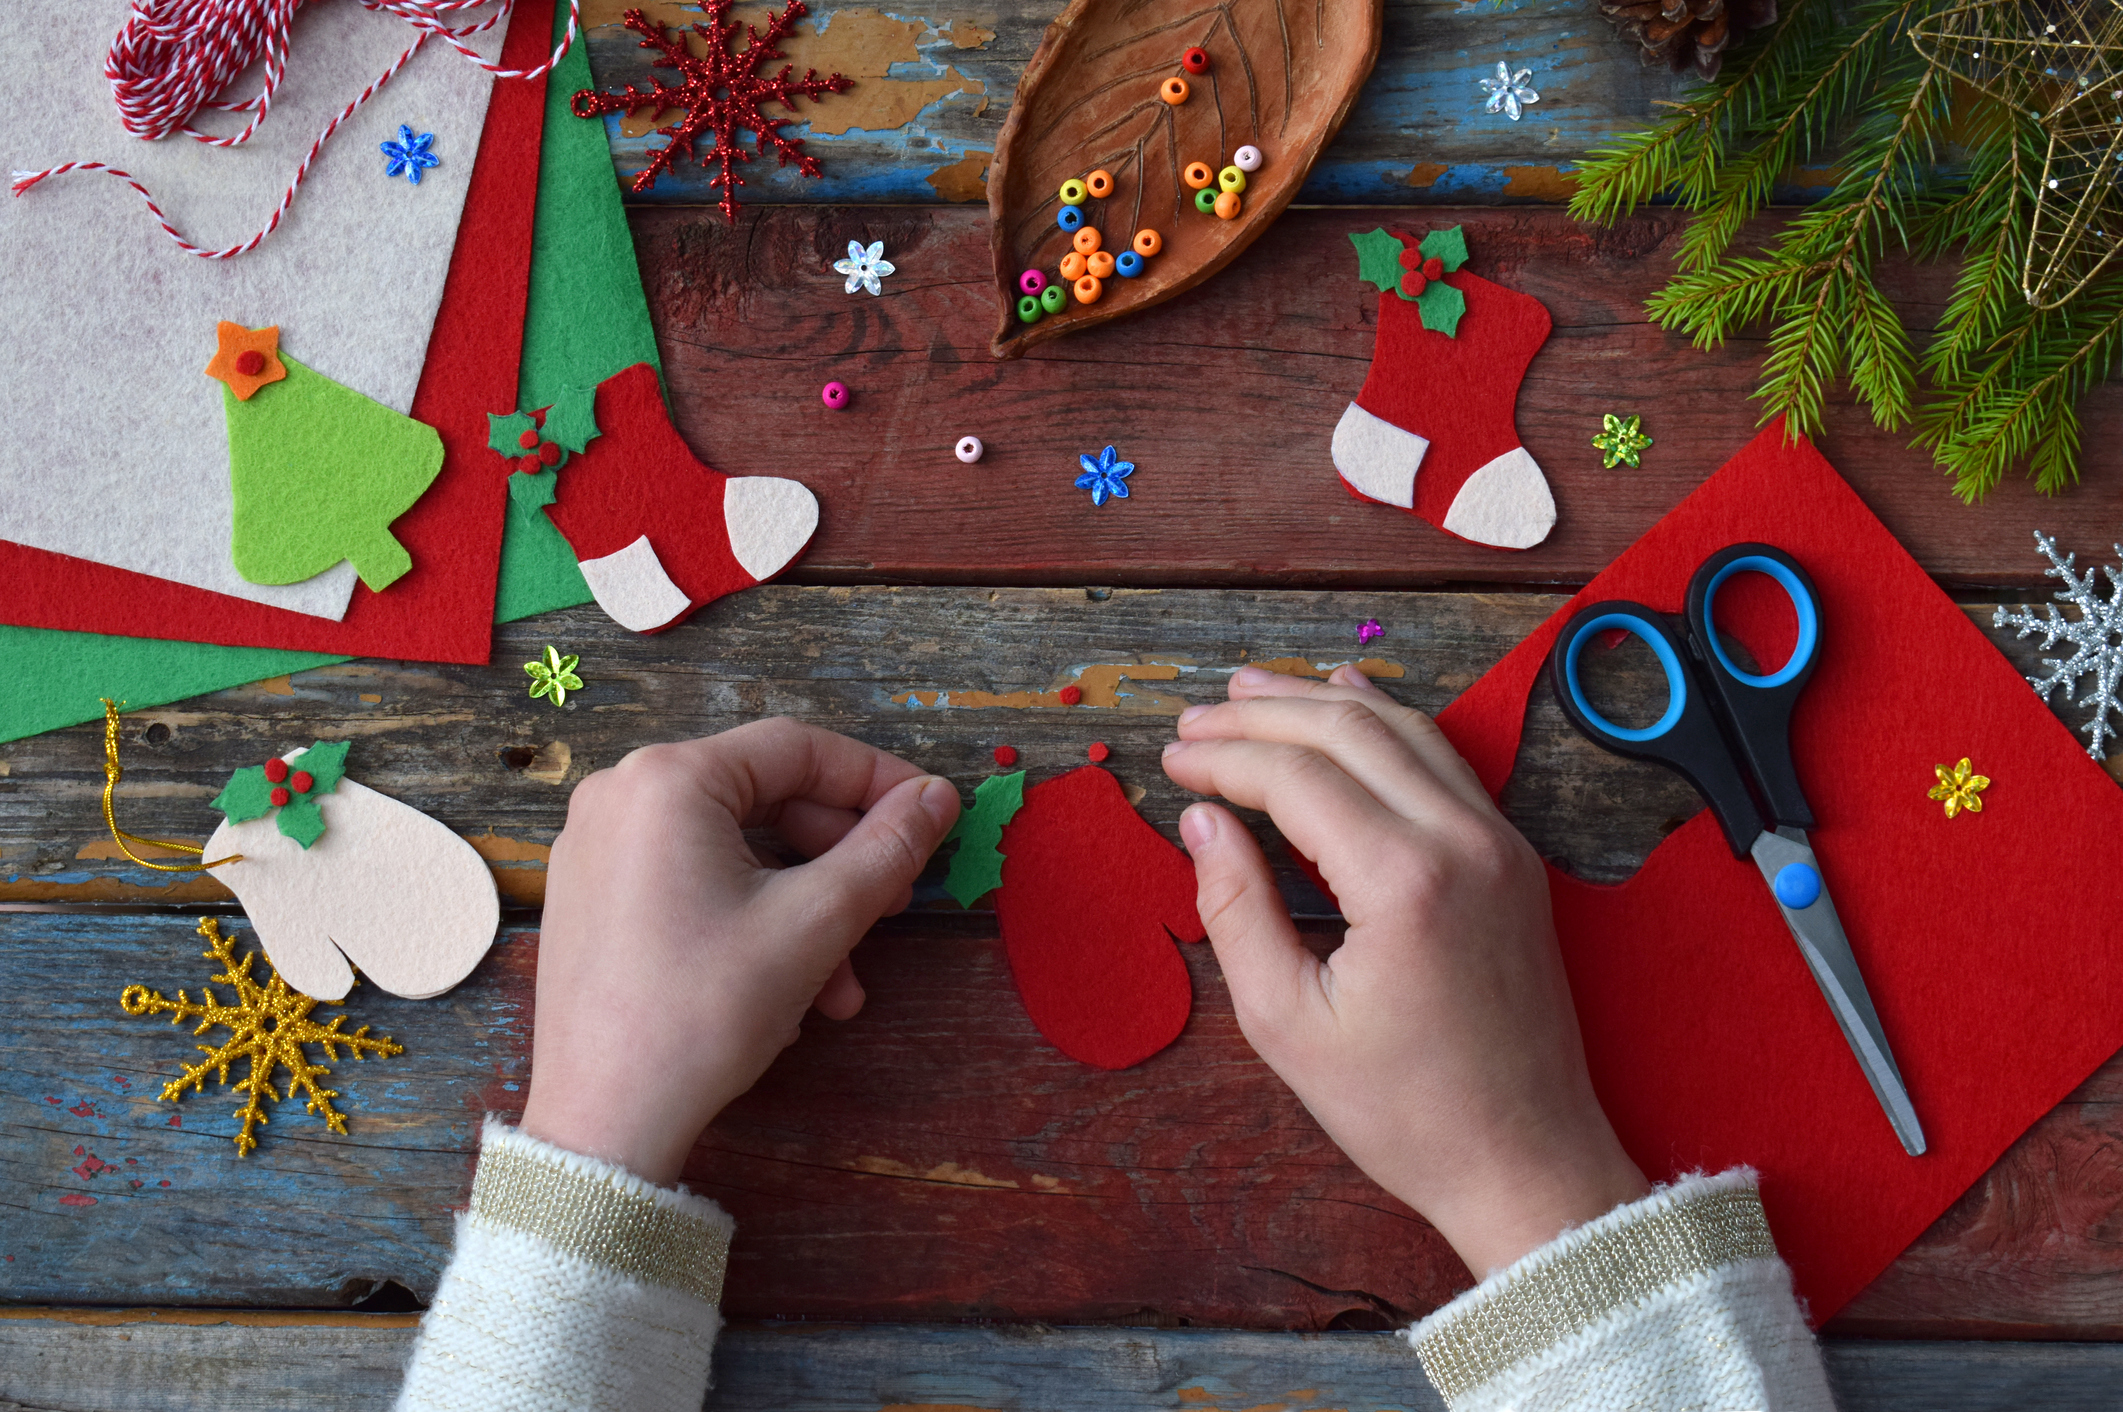
Felt (choose whatever colors you want your ornaments to be, and don’t forget plenty of green for the tree itself)
Scissors
Sharpie
Glue Gun with plenty of glue sticks
A cup or anything you want to use to trace out ornaments
Command Poster Strips
- Prior to cutting, it is best to do some tracing, starting with the tree.
- First, fold the green fabric in half and trace a half-tree. You can draw it free-hand using up as much of the fabric as possible.
- Don’t be too concerned about the tree branches looking perfect, since it is an organic shape. But, folding it in half helps your two sides of the tree to be symmetrical. Tip: The folded side of the fabric is the center of your tree and be sure you trace out from there.
- Once you have your tree traced out, cut it out and open it up.
- Next, it’s on to the ornaments! Using the plastic cup, trace circles onto a bunch of the different colored fabric squares. Do as many as you like.
- When cutting out the circles, try to cut inside the sharpie line you drew so that you don’t have a black outline around the circles. We recommend using super sharp scissors since it’s a lot easier and you’ll have smoother edges.
- Then, draw and cut out a variety of “decorations” to glue on top of the ornaments. Things like a snowman, candy cane, stripes, stars, dots etc… How much design and detail goes into the ornaments is totally up to you!
- Don’t forget to create a little star to go on top of the tree. You can draw one free-hand or print an example to trace.
- Finally, take the remnants of felt to trace, cut out, and decorate three presents for “under” the tree. This is totally optional, but a fun addition!
- Now it is time to glue everything together. This is where a good glue gun comes in very handy.
- Glue all the decorations on the ornaments and presents – making sure to get glue on the very outside of the decoration so that it doesn’t peel away later. (Use as much glue as possible. After all, your baby will be handling these.)
- Finally, hang it up. Using command poster strips will make hanging the tree easy and keep your baby from ripping the tree right off the wall.
- Put a poster strip at the tip of each branch and then a few down the center. It’s very secure and the branches don’t flop and fold back.
- Choose the wall you use and make sure the tree is at the right height from the floor or baseboard, and then press down on all the strips to make sure they’re stuck tightly against the wall.
Once you’ve attached your tree to the wall, it’s playtime! Then it’s playtime over and over again all season long.


