
How to Carve a Foam Craft Pumpkin that Looks Just Like the Real Thing!
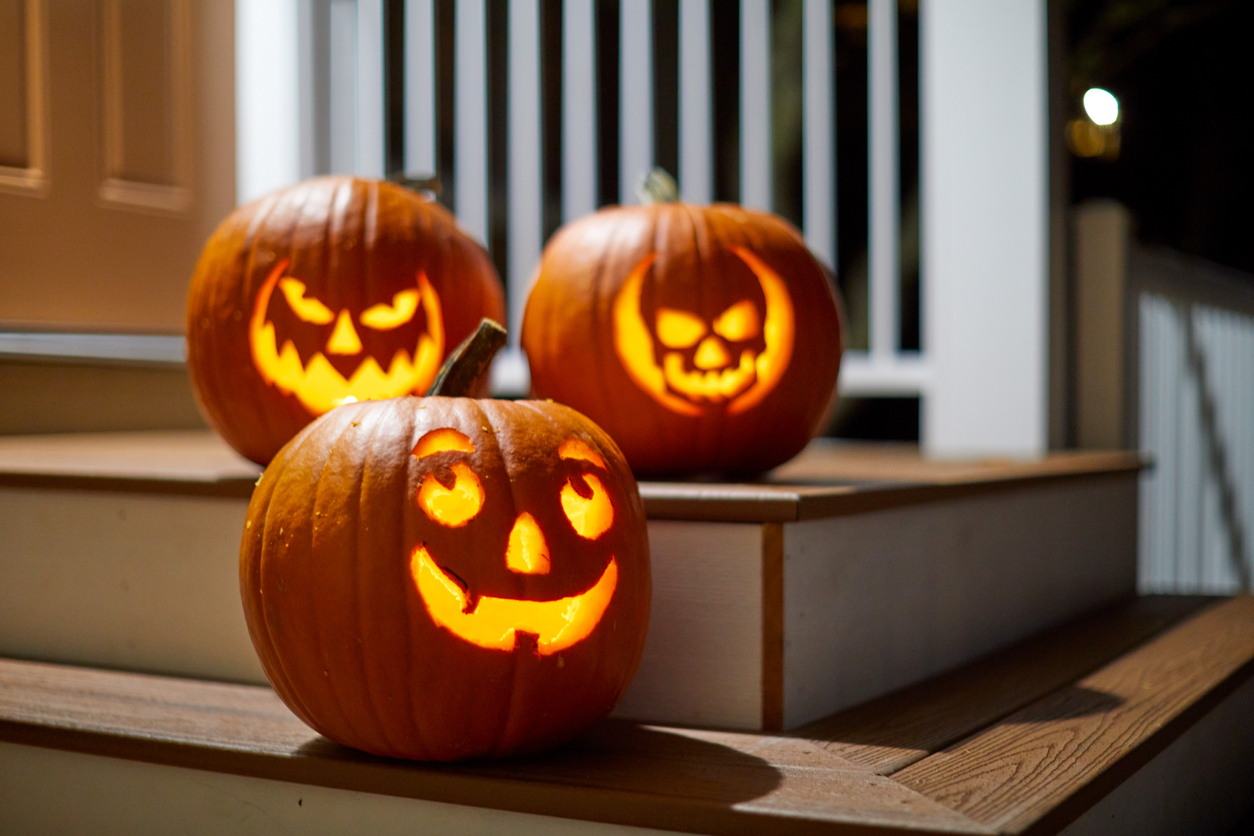
Carving a jack-o’-lantern is a cherished Halloween tradition but sticking my hands into a pumpkin full of goo isn’t my favorite thing to do. Plus, carving one can be a lot of work for a decoration that will eventually rot. This year, skip the guts and seeds and carve your design into an artificial pumpkin. Anyone who has carved a real pumpkin before has the skills to carve a faux one. We’ll walk you through the basics so you can get started on one of our hundreds of free downloadable pumpkin carving stencils. Once carved, you’ll have a lasting pumpkin decoration to display year after year.
 What You’ll Need:
Equipment / Tools
1 Pencil
1 Safety goggles
1 Dust mask
1 Knife
1 Scissors
1 Awl
1 Drill and drill bits
1 Rotary cutter
1 Paintbrush
Materials
1 Craft pumpkin
1 Adhesive sheet
1 Battery-operated tea light
Instructions:
Choose a Faux Pumpkin
To carve a faux jack-o’-lantern that looks like the real thing, you’ll need to choose the right craft pumpkin. We recommend a hollow artificial pumpkin made from sturdy low-density foam because they’re the easiest to carve. Once you have the pumpkin, use a pencil to draw a circle on the bottom of the pumpkin that is large enough to insert a battery-operated tea light. While wearing the appropriate safety gear, like safety goggles ($3, Walmart) and a dust mask, carefully cut out the hole with a knife. Choose a free pumpkin carving template and print the stencil onto an adhesive sheet. Cut the stencil out, peel the backing off, and place it on your pumpkin according to package directions.
Prep Your Pumpkin
Use an awl ($6, Amazon) or a thumbtack to poke holes along the perforated lines of the stencil. You’ll scrape these sections with a rotary tool later. Use a drill with a drill bit set ($34, Amazon) to cut holes where the pattern indicates.
Carve the Pumpkin
Use a knife to carve out the solid shapes from your pumpkin. As you carve, gently push the carved pieces out of the pumpkin. When you’ve cut out all the solid shapes, dip the pumpkin in water to remove the adhesive sheet; dry completely. Use a rotary tool to scrape within the perforated lines to thin the pumpkin skin so light can shine through. Don’t completely cut those areas out.
Finish and Display
When you’re done carving, use a paintbrush to wipe away any dust. Once you’re ready to display the finished design, place your pumpkin so that the hole in the bottom sits over a battery-operated tea light ($5 for six, Walmart). Moisture can cause the faux pumpkin to deteriorate so we don’t recommend displaying the pumpkin outdoors for long periods of time (or when it’s snowing or raining), but you can place it on the front porch on dry days or use it as a festive Halloween centerpiece.


